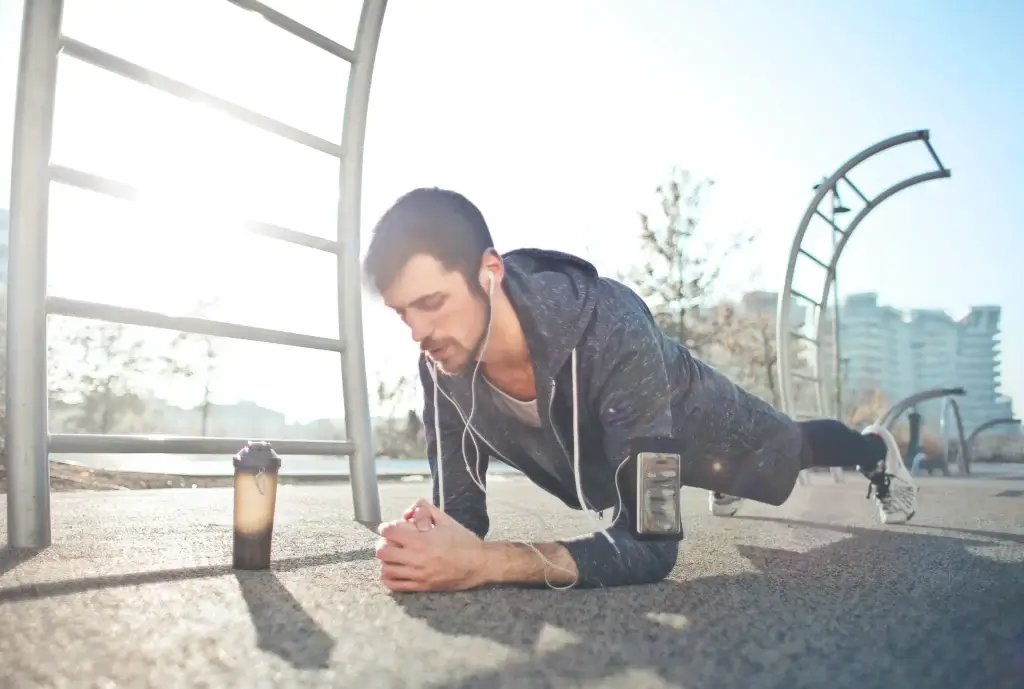
Calisthenics – a form of strength training primarily focused on compound movements and minimal equipment – is a great way to add variety and intensity to your workouts. The great thing about calisthenics is that it doesn’t require any equipment.
That’s the beauty of bodyweight training: you can do it anywhere, anytime, and it doesn’t cost you anything. It gives you full control over your workout and helps to develop strength and muscle through working with your own body weight.
So today I’m going to over some common calisthenics equipment, including what is “essential” (i.e. helpful) and what is not. I’ll also cover what to buy, what not to buy, how make your own DIY calisthenics equipment, and create your home gym all for under $100!
Overview:

- Calisthenics is primarily focused on bodyweight training - use what you have
- Calisthenics equipment can be beneficial by giving you more variety and resistance
- I only recommend 4 pieces of equipment initially, all of which combined cost less than $100
   + Parallettes
   + Resistance Bands
   + Gymnastic Rings
   + Jump Rope
- You can make your own - parallettes, plyo boxes, & suspensions trainers are common ones
A quick word about bodyweight training
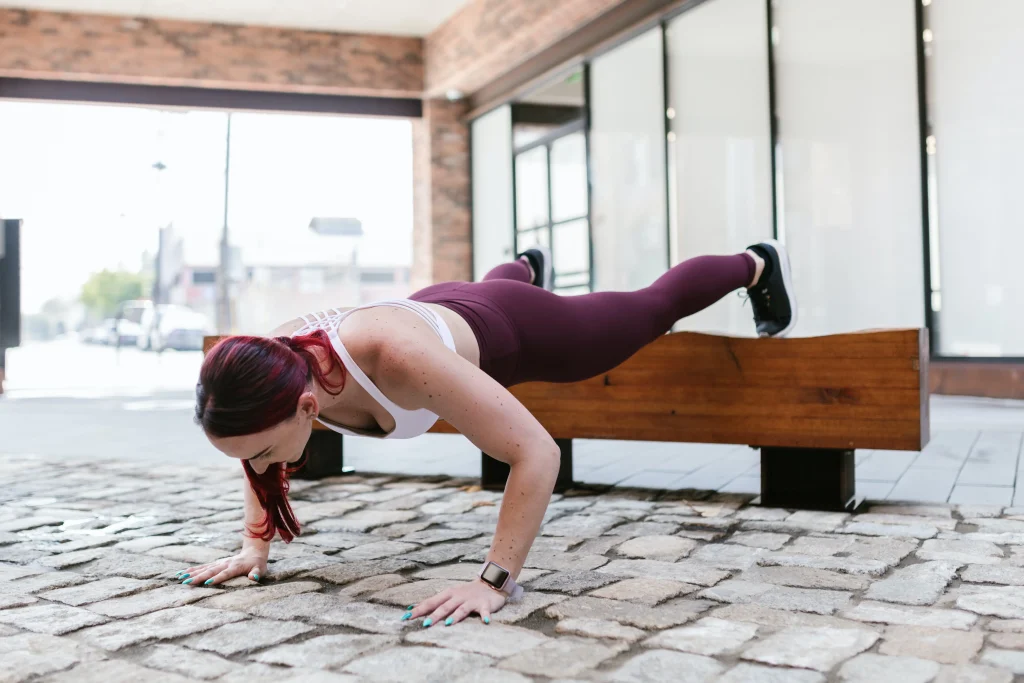
Bodyweight exercises are simple in theory; they don’t need equipment or gym memberships, they don’t need fancy equipment, and they don’t need a lot of space.
All of which means you can work out wherever your heart desires—in a park at sunrise, on the beach in summertime or even at home in front of an old-school TV set (if those even exist).
In fact, working out at a playground is a great option as you can use the monkey bars, benches, and other objects for a great workout. Just don’t scare the kids or ogle the moms 1 at least, not too much and you should be fine.
Do you need Calisthenics equipment?
To be clear, calisthenics equipment is helpful but it’s not necessary. After all, the focus is on using what you have with you – your body weight. However, if you’re going to be doing workouts at home or in the gym, there are some pieces of equipment that can make your calisthenics workouts more effective and efficient.
Rather that go into calisthenics workouts right now, let’s focus on a few categories of calisthenics equipment for your home gym:
- Recommended Equipment – these are items that make your workout routines more effective, varied, and, well, better. As a bonus, these are all very affordable.
- Specialized Equipment – consider these as “nice-to-have” in your gym.
- Unnecessary Equipment – while these items are helpful there are (better or cheaper) alternatives or are of a somewhat limited use
- DIY Equipment – Yes, you can easily make equipment yourself! Even if you’re not very hand. If you want to save money (and who doesn’t?), this is a great way to go.
Recommended calisthenics equipment – make the most of your workouts
If you’re starting out with calisthenics exercises, here are four pieces of equipment we think are essential. So why are these “essential”?
- Versatile – they can be used for tons of exercises
- Extensible – they’re useable by beginners to more advanced athletes
- Effective – you can perform the best calisthenics exercises on them
- Affordable – you don’t have to break the bank to workout effectively
- Portable – not only are they great values, you can most of them when you go
You can buy all four pieces of equipment for just under $100 or, if you want to save even more, later on I’ll show you how to make some items on the cheap.
1) Parallettes – $30-$50+
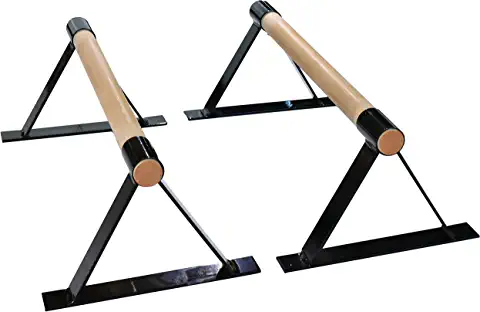
Parallettes are a piece of equipment that have their roots in gymnastics. Originally developed to mimic the parallel bars, they are similar to push up bars but are longer in length and more sturdy to use.
You can do a ton of exercises just with parallettes – think handstands, push-ups, L-sits, V-sits, dips, and more. Some people prefer to buy them from the store but it’s easy to make your own parallettes by using wood, metal, – or in my case – PVC pipes. I’ll provide a link down below. Anyways, they can get pretty expensive so making your own is great way to go.
Parallettes can also be used to make some exercises easier if you don’t have enough upper body strength yet. For example, can’t do a full handstand? No problem, just place the parallettes in a sturdy location a few feet away from a closed door or wall, put your hands on the bars, and “walk” your feet up the wall a ways. The higher you “walk”, the more vertical your body becomes and the closer you are to a handstand.
This way you’ll be able to keep some weight off until you build up more muscle mass!
2) Resistance bands – $20-$30
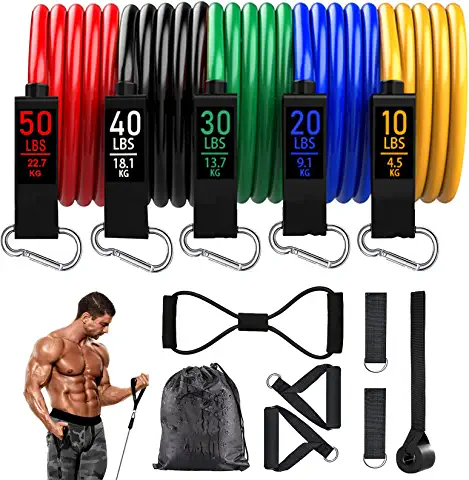
Resistance bands are a cheap, portable and versatile way to add resistance to your calisthenics workout. They also provide resistance over the entire range of motion of an exercise something other training tools cannot do. I especially like them when doing stability work, accessory work, or even rehab.
You can use resistance bands for many different exercises, including bodyweight squats and lunges, pull-ups and dips. You can also use them with your other equipment, like parallettes. For example, you can wrap a band around your upper body and use it when doing push ups on your bars!
When it comes to using resistance bands there are two main types (for workouts) you need to know about: tubular and looped bands.
- Tube resistance bands with handles are one type of band. They’re made to mimic certain cable machines as and are great for pulling and pulling exercises such as chest presses, curls, back rows, and shoulder presses.
- Looped Bands are similar to giant rubber bands and are great for bodyweight exercises that need assistance or added resistance, such as assisted pull ups.
Due to their versatility, I would get a set of tube resistance bands first. Once you get familiar with calisthenics, then you can pick up some looped bands if you need them.
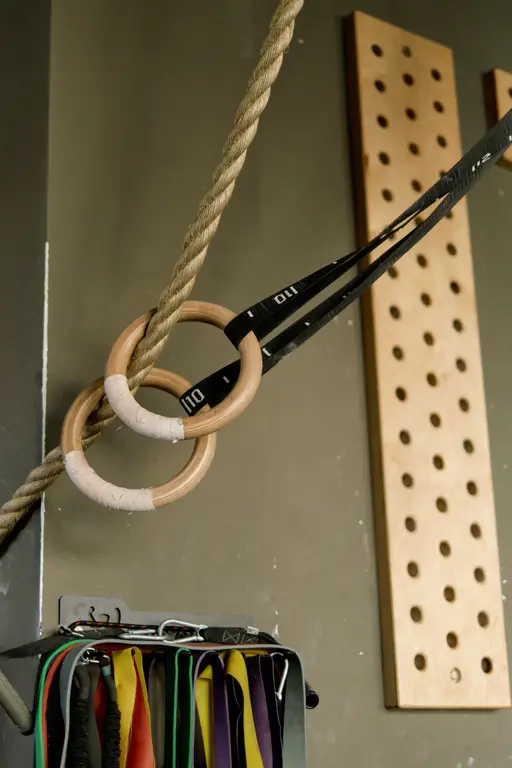
3) Rings – $25-$50
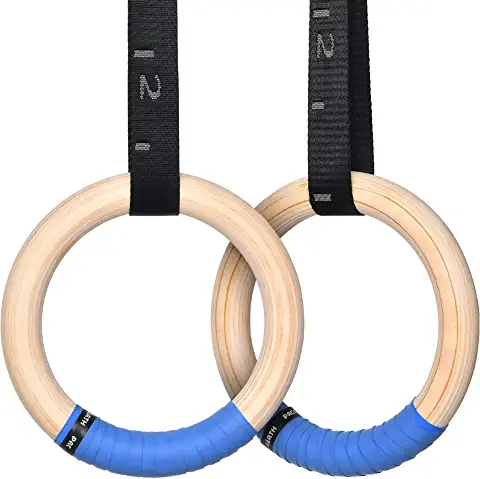
Gymnastic rings are a classic calisthenics exercise that will help you build strength, agility and balance. If you have the space to hang them – such as from a basement joist – they’re an excellent addition to your calisthenics home gym.
They can be used for pulling exercises as well as pushing exercises, They are cheap, portable, and versatile. And, while you can make your own, I recommend just buying a pair.
The benefits of using rings include:
- Increased body and core strength and stability;
- Better posture;
- Improved flexibility and muscle tone;
- Improved coordination, balance and proprioception (the sense of where you are in space). Routinely doing handstands on parallel bars or freestanding poles can help build these skills as well.
Ring dips and ring rows – either vertical or horizontal – are two my favorite body weight exercises. As a quick aside: not only are ring dips great, they also eliminate the need for dip bars. They also mitigate the need for a separate pull up bar. After all, you can just do ring pull ups.
By buying rings, you have a very versatile piece of muscle building equipment and you can skip other items. You may not see that on other sites but I’m not trying to sell you equipment, only trying to give you the best options.
4) Jump Rope – $8-$20
The jump rope is one of the most basic tools in your calisthenics arsenal. It’s small, quite versatile, and is great for overall cardio fitness. With a simple jump rope, you can:
- Warm up before a workout and get your heart rate up to an appropriate level;
- Cool down after a workout;
- Incorporate into an interval training circuit (which we’ll discuss later);
- Incorporate into HIIT circuits for high intensity workouts; and more!
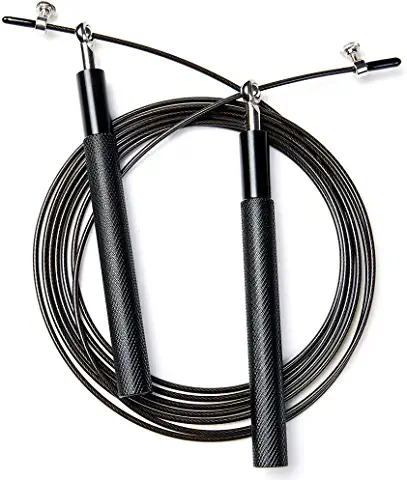
For example, simple double-unders are an amazing exercise for coordination, cardio, and overall fitness. While there are different types, a simple speed jump rope is what I recommend. They’re affordable and durable and will be a great value on your exercise journey.
Recommended Equipment Summary
If you were following along, those four pieces of calisthenics equipment can be purchased for ~$85. Not only will you have a HUGE variety of exercises you can perform, you won’t outgrow that equipment for a long time (if ever).
Specialized calisthenics equipment – nice to haves
1) Pull up bar
Wait? A pull up bar is a “nice to have?” Isn’t it one of the essential pieces of calisthenics equipment? In my opinion, no. Like I mentioned, you can use gymnastic rings do the same thing – and more – as the pull bar. If you’re looking to build out a calisthenics home gym, I’d buy rings before a pull up bar.
That said, if you’re not comfortable with rings – or can’t figure out where to hang them 2 you could always use a sturdy tree branch – you could get a pull up bar instead.
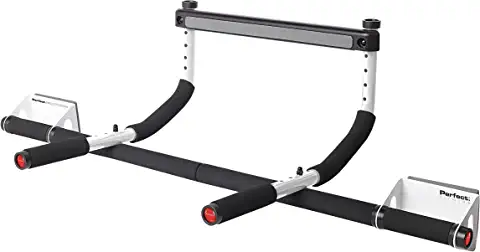
That said, pull up bars are a great way to build upper body strength, and can be used for many different exercises. You can use a pull up bar to do pull ups or chin ups, muscle ups and more.
Pull up bars come in many different shapes and sizes (and prices). Most are mounted in doorways, but some can fit on walls if you don’t have enough space to install it along the bottom of your doorway. Regardless of where you mount it, just make sure that you have enough head room and space for your exercises!
2) Weight Vest
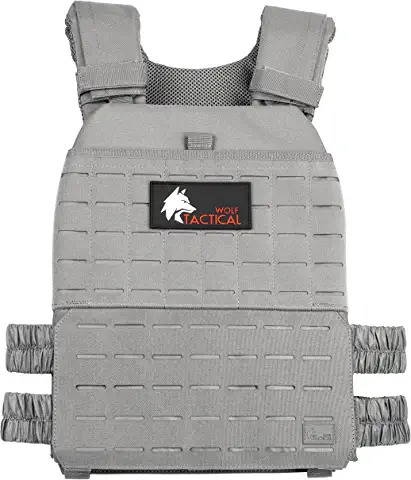
A weight vest 3I reviewed the Vest X recently is a great way to add resistance to your workout. And, properly used, it can help you increase strength, endurance and power when doing anything basic exercises to more advanced variations.
It’s important that you choose the right weight vest for your needs. If you’re new to calisthenics training then I would recommend getting an adjustable vests.
Being able to add or subtract weight will help ensure it’s something you can use for a long time yet will challenge you enough as you get stronger. Additionally, you can adjust the weight to fit the exercise, as appropriate.
3) Plyometric Box
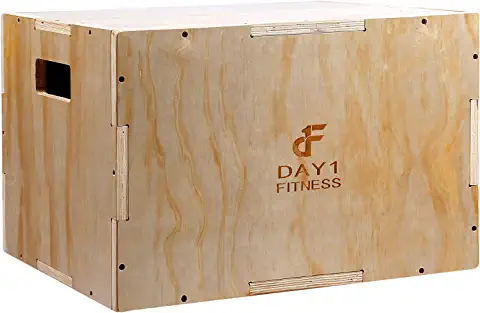
Plyometrics, or jump training, are dynamic exercises designed to elicit power (or speed strength). A plyometric box is simply a box – usually rectangle or trapezoidal – designed to allow to perform those jumps.
Plyo boxes come in different sizes, shapes and types, but from durable and high strength materials. While you can buy boxes they tend to be pretty expensive, especially for what they are.
Unnecessary calisthenics equipment
These next two items are purely my opinion as I’m sure you can find some people who like them and find them useful. But, for home gyms, feel free to skip them.
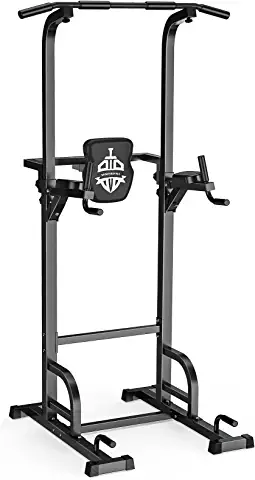
1) Power Tower
Used for pull ups, hanging leg raises, and a smattering of other exercises, they’re big, bulky, and expensive. You can use gymnastic rings, parallettes, and other equipment to do all the same moves and tons more.
Personally, I’d rather save my money for other equipment and start to expand beyond just bodyweight exercises.
2) Dip Bars
Ditto everything I said about the power towers. While you can do calisthenics exercises on them, they’re made irrelevant by other equipment.
Other Equipment

Things such as adjustable dumbbells, weight benches, suspension trainers, battle ropes, and the like are all great in a home gym. If you can afford them and have the space, they’re recommended. That said, they’re not necessary for calisthenics movements.
DIY Calisthenics equipment
Now we come to the cool part, making your own equipment. I’ve actually made both parallettes and plyo boxes myself. Not only was it pretty fun and easy, it was a lot cheaper and they’re very durable. While I might put up some more detailed posts, see below for more info.
DIY Parallettes
I actually made my own using some PVC pipes. Not only are they super strong and durable, it was really easy to do. Unlike other DIY equipment, no special tools or skills are necessary.
In fact, there’s only a couple cuts you have to do – I used a handsaw – but you use just about anything cut the PVC. Then pick up some PVC cement/glue and you’re set. No other special tools are needed.
Here’s a picture of the ones I made –
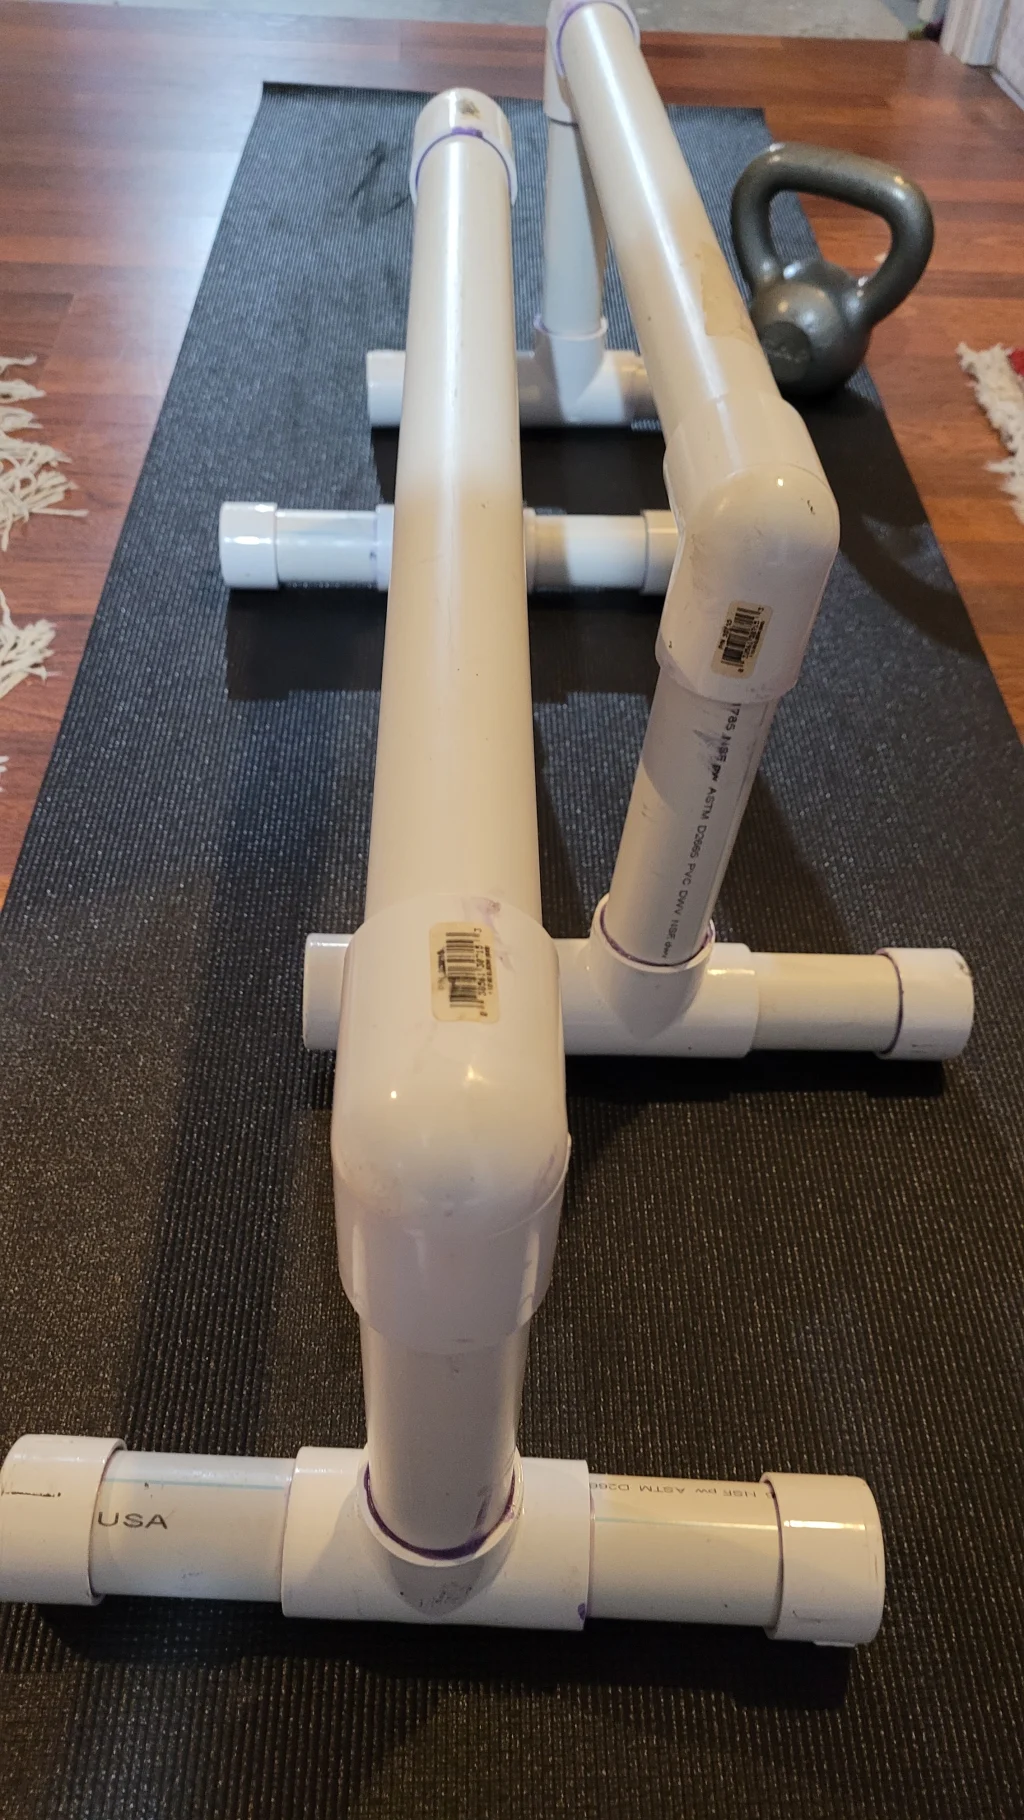
One of them is just slightly off square on the bottom so just be sure the “feet” are perfectly square to the ground. If not, you will experience slight rocking when using them.
The best tutorial and one I leveraged, comes from Ross Enamit over at RossTraining.com. Besides being a beast and a top trainer, he also has some other good DIY equipment tutorials.
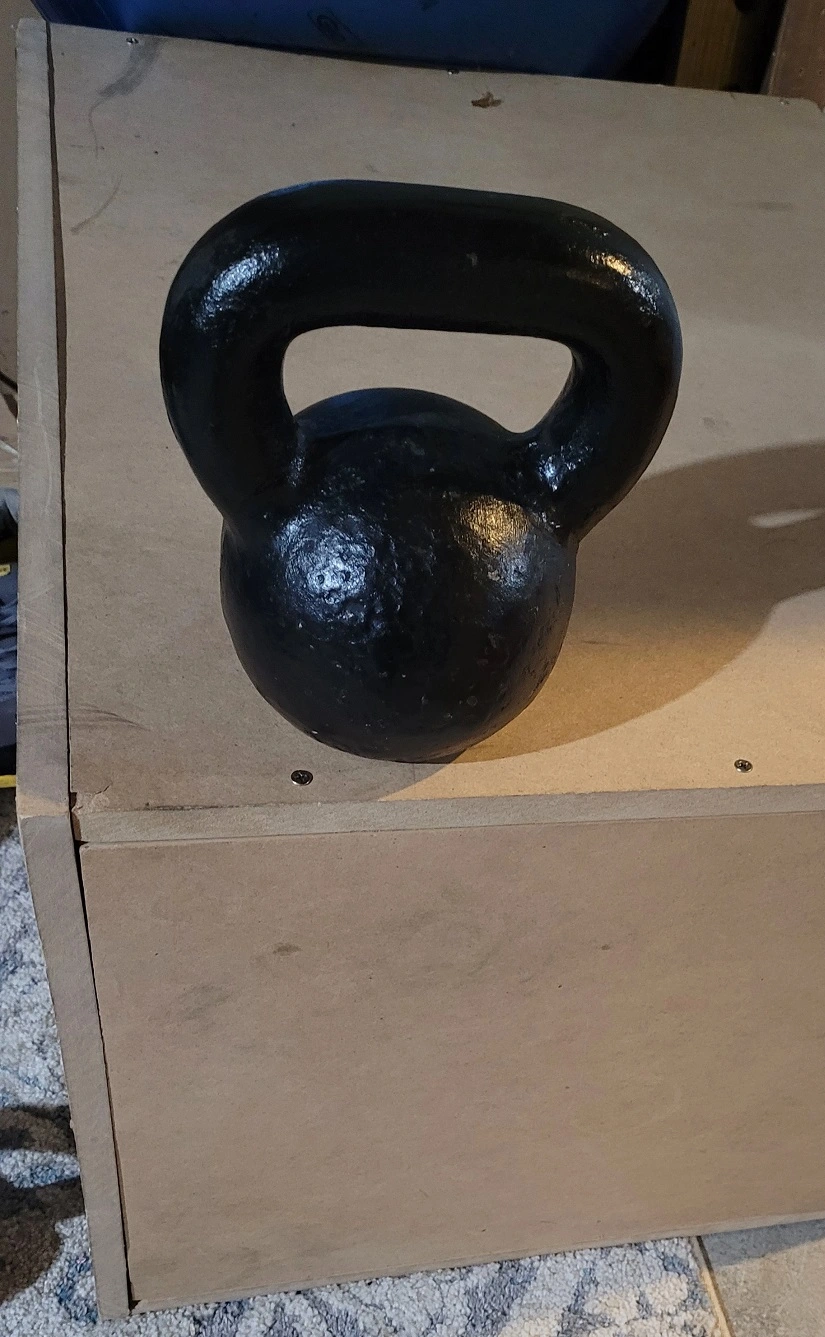
DIY Plyometric Box
If you’re somewhat handy – or know someone that is – you can build a plyo box rather easily using a saw, MDF or plywood, and some screws.
For example, it took me just a couple hours to make a 20x24x28 box out of 3/4″ 4×8 MDF board that I bought for $40 (more expensive right now). Even a “cheap” box that size will cost you $110+ on Amazon!
Until I have time to write up a tutorial, this one from TheArtofManiless.com is good. I actually followed the general steps outlined there to build my MDF box, which has held up really well.
I’m in the process of builder a smaller 12x14x16 box right using a 3/4″ 4×4 piece of MDF. Once I finish, I’ll write up a separate post on how to create that one.
TL;DR (Conclusion)
In conclusion, calisthenics – using your body weight – is an amazing way to get fit and stay fit. It can be done anywhere at any time, so there’s no excuse not to get started today.
While calisthenics don’t require equipment, here is the best calisthenics equipment to enhance your workouts:
- Parallettes
- Gymnastic rings
- Resistance bands
- Jump Rope
That’s it. You can buy them for under $100. Or better yet, with some of them, you can even make your own.
While other pieces of equipment – such as pull up bar or a weight vest – are helpful in a calisthenics gym they are duplicative or more specialized. Luckily, you can DIY a couple of those too.
If you’re on a budget, just stick with the basics and then add on more later as you determine the gaps you want to address. In spending just $100 4more or less on 4 pieces of equipment, you’ll have a great start (or finish) on a basic home calisthenics gym.